
Step-by-Step Setup Guide for Football Rebound Boards
Share
A football rebound board is one of the most effective tools for solo training, offering a predictable ball return for passing drills, first touch work, shooting, and reaction training. To get the most from your rebounder, you must focus on correct setup, positioning (typically 3–5 metres away), surface selection (garden, pitch, or indoor space), angle adjustability, and frame stability. This guide walks you through assembly, secure positioning, safety checks, and the foundations for skill development — helping you turn any space into a high-performance training environment.
A football rebound board is deceptively simple. Set it up correctly and it becomes a relentless training partner. Set it up poorly and you lose the very thing that makes it powerful — consistency.
At Football Mastery, we design training equipment for deliberate practice, not gimmicks. Whether you're preparing for academy trials or sharpening your weaker foot in the garden, this guide will show you how to assemble, position and optimise your rebounder for maximum performance.
This is the foundation of effective solo training.
Why Proper Setup Matters
A rebound wall for football training works on one principle: predictable return equals measurable improvement.
When the ball comes back at a consistent rebound trajectory, you develop:
- Sharper first touch
- Cleaner one-touch passing
- Faster decision making
- Improved foot-eye coordination
- Stronger muscle memory through repetition
But none of that happens without stability, surface awareness, and correct angle positioning.
Before you even strike your first pass, the build instructions and environment matter.
Step 1: Choose the Right Training Location
Your surface dictates everything.
A football rebound board is portable and easily transferable, but where you place it changes how it performs.
Garden Setup
Ideal for individual practice. Ensure:
- Flat ground
- Minimal slope
- No loose gravel
- Enough depth (at least 5–7 metres of working space)
Pitch Training
Best for:
- Dynamic angle variation drills
- Shooting & finishing drills
- Agility and movement drills
Grass absorbs force differently than hard ground, so expect subtle changes in ball return.
Indoor Training
Excellent for:
- Tight-space ball control drills
- Reaction drills
- Controlled passing sequences
Indoor vs outdoor setup best practice: always check floor grip and avoid polished surfaces where frame movement could occur.
Uneven surface considerations are often overlooked. Even a slight tilt affects rebound trajectory and passing accuracy targets.
Step 2: Assembly Checklist & Parts Identification
If you've purchased our dedicated Football Rebound Board, everything is engineered for quick-start setup steps.
Before building, lay out all components:
Assembly Checklist
- Main rebound board surface
- Frame sections
- Support brackets
- Bolts and fixings
- Angle adjustment mechanism
If your model includes a net system, ensure you:
- Attach net securely
- Fasten bungee ties evenly
- Tension corners equally
A rushed assemble process leads to instability later.
Take five minutes now. Save frustration later.
Step 3: Building for Stability & Safety
Stability is non-negotiable.
A secure frame ensures:
- True ball return
- Reduced vibration
- Safer repetition at higher speeds
When assembling:
- Tighten all bolts fully before use.
- Check that the base sits flush with the surface.
- Test by striking the board lightly before full-power drills.
If the board shifts, reassess positioning or ground contact.
For players investing in long-term development, explore our full range of Rebound Boards designed specifically for durability and predictable performance.
Step 4: Master Positioning & Distance
Distance changes difficulty.
As a baseline:
- 3–5 metres = controlled passing & first touch work
- 5–8 metres = reaction drills & decision making
- 8+ metres = driven passes & shooting patterns
Mark distance using cones or natural markers. Distance markers for training setup introduce structure to your sessions.
Your body position should be:
- Side-on for receiving practice
- Open hips for weaker foot training
- Balanced stance for quick give-and-go sequences
The goal isn’t just to hit the board.
It’s to simulate game movement.
Step 5: Adjust the Angle for Training Purpose
Angle adjustability transforms a rebounder from basic to advanced.
A slight backward tilt produces:
- Ground passes returning along the floor
- Ideal first touch control work
A more upright angle creates:
- Faster ball return
- Reaction training
- Quick one-touch passing
Tilt forward slightly and you generate:
- Aerial returns
- Volleys
- Goalkeeper training and shot-stopping reaction work
Dynamic angle variation drills replicate unpredictable match scenarios — without needing a second player.
The Foundation of Skill Development
Before we even introduce structured drills, understand this:
Repetition with intent builds technique refinement.
A football rebound board allows:
- Solo ball control routines
- Progressive skill sequences
- Multi-rebound patterns
- Training progression levels (beginner → advanced)
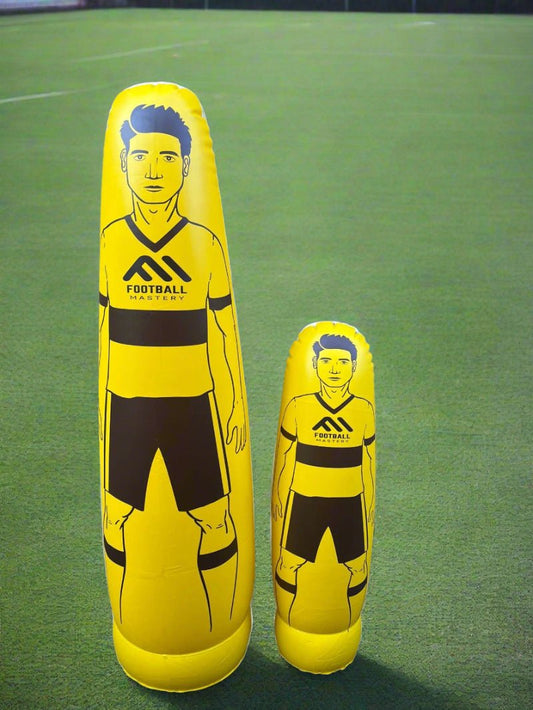
When combined with other tools — such as our Air Mannequins (x3) — you can integrate cones, obstacles and defenders into game simulation patterns.
Or accelerate development through curated training systems like our Football Mastery Bundles, designed for structured growth.
6. Passing Drills That Build Precision
Passing is the backbone of football. A predictable ball return allows you to rehearse patterns until they become automatic.
A. One-Touch Passing (3–5 Metres)
- Stand side-on to the board
- Pass firmly
- Return the ball with one touch
- Reset body position immediately
Focus points:
- Open hips before contact
- Cushion with inside of foot
- Maintain rhythm
This drill enhances:
- Foot-eye coordination
- Speed of thought
- Decision making under pressure
To increase difficulty:
- Reduce reaction time
- Alternate feet every strike
- Introduce movement before receiving
B. Give-and-Go Movement Drill
Position yourself 4–6 metres away.
- Pass into the rebounder
- Move laterally 2–3 steps
- Receive on the half-turn
- Play the next pass
This simulates real match patterns. You are no longer static — you are replicating game simulation movement.
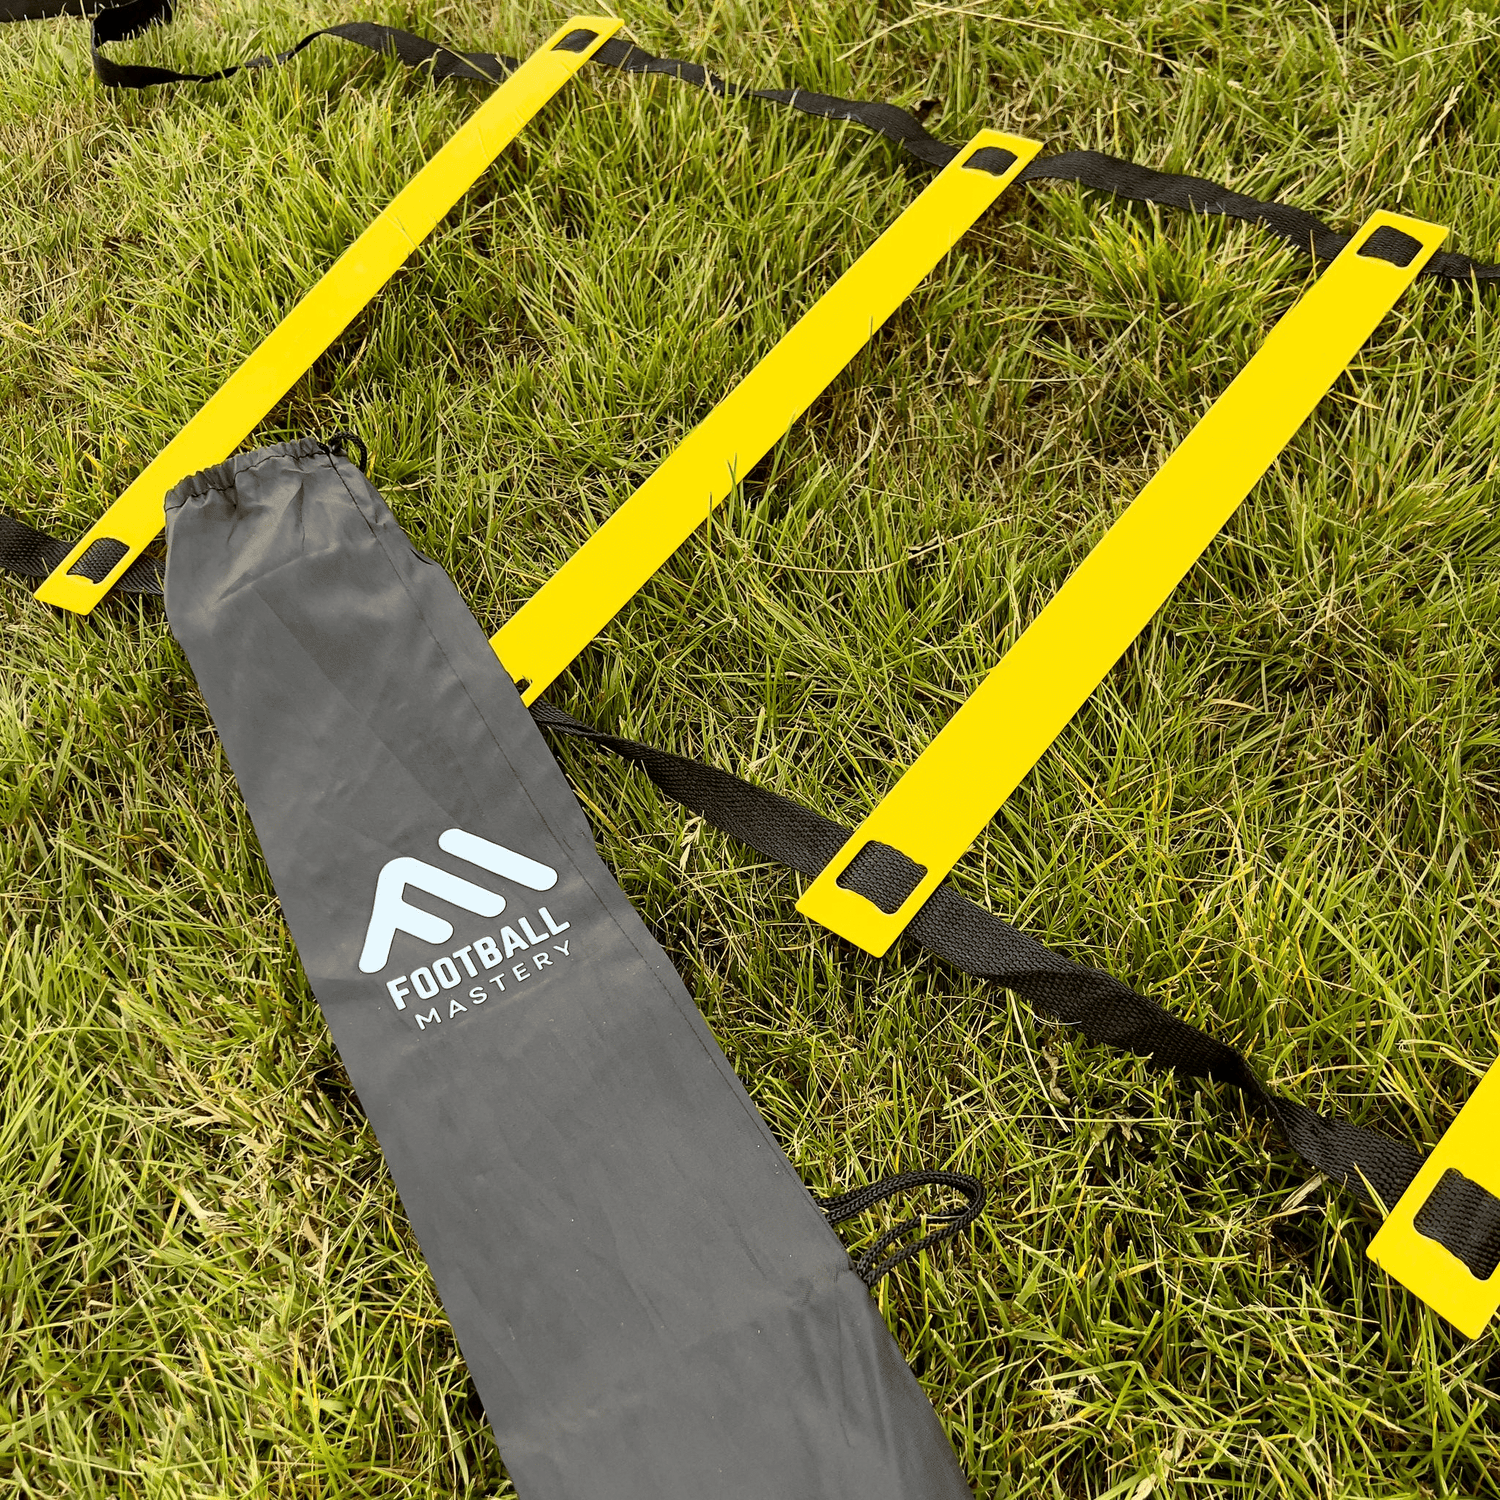
Add cones or mannequins to replicate defensive pressure. Integrating rebound boards with cones or ladders increases realism and forces quicker scanning.
7. First Touch & Ball Control Mastery
The first touch separates average players from composed ones.
Angle adjustability is key here.
Ground Return Control
Set the board at a slight backward tilt.
Work on:
- Inside foot control
- Outside foot reception
- Across-body touch
- Weaker foot training
Keep distance at 3–4 metres to emphasise clean technique.
Dynamic Touch Variations
Increase the angle slightly for faster rebound trajectory.
Now:
- Cushion touch into space
- Control and pass in two touches
- Receive on the half-volley
This becomes reflex training.
You are reacting, not waiting.
8. Reaction & Reflex Training
Raise the angle more upright.
Stand 4–6 metres away.
Strike firmly and prepare for a quicker, sharper ball return.
Drills to try:
- Rapid-fire one-touch exchanges
- Alternating feet every contact
- Randomised body positioning before each pass
This improves:
- Reaction drills performance
- Neuromuscular coordination
- Split-second decision making
For advanced progression:
- Turn away after striking
- React only once the ball rebounds
- Control and finish within two touches
The unpredictability enhances match realism.
9. Shooting & Finishing Progressions
A rebound wall for football training is excellent for building finishing instincts.
Set-Up for Shooting
- Distance: 6–10 metres
- Angle: slightly forward for aerial returns
- Add cones as passing accuracy targets
Drill Example: Rebound & Finish
- Pass firmly into the board
- Receive the return at pace
- Finish immediately into a target goal
This encourages:
- Quick set-up touch
- Balance under pressure
- Clean striking technique
For advanced players:
- Receive on weaker foot
- Add movement before receiving
- Introduce timed repetitions
You can also simulate goalkeeper training by setting a smaller finishing target — increasing precision demands.
10. Aerial Returns & Volleys
Tilt the board forward slightly to create lift.
Work on:
- Controlled volleys
- Half-volleys
- Chest control into strike
- Thigh control and finish
Maintain strong core balance and controlled foot placement.
This form of solo training develops:
- Timing
- Coordination
- Explosive technique refinement
Few players practise this consistently — which is precisely why it gives you an edge.
11. Agility & Movement Integration
Static drills build foundation.
Movement builds footballers.
Place cones in a triangle or square pattern.
Example:
- Sprint to cone
- Pass into rebounder
- Move around second cone
- Receive and play next pass
This introduces:
- Agility & movement drills
- Multi-rebound patterns
- Decision making under fatigue
Increase intensity gradually.
Training progression levels (beginner → advanced) should always be deliberate. Do not jump straight into high-speed complexity without mastering control.
12. Building Structured Solo Sessions
A well-designed session could look like:
Phase 1 – Technical Warm-Up (5 minutes)
- Light passing
- Controlled first touch
- Ground return focus
Phase 2 – Progressive Skill Sequence (10 minutes)
- One-touch passing
- Weaker foot emphasis
- Increased angle speed
Phase 3 – Reaction Block (5–8 minutes)
- Upright angle
- Rapid exchanges
- Movement before contact
Phase 4 – Finishing & Game Simulation (10 minutes)
- Rebound and finish
- Aerial control
- Timed repetition
This creates deliberate practice rather than random repetition.
13. Care, Maintenance & Longevity
To keep your rebounder performing at its best:
- Wipe down surface after wet sessions
- Store in dry conditions when possible
- Check bolts regularly
- Inspect frame for looseness
- Fold flat for storage if required
Weatherproof training gear lasts longer when maintained properly.
Your football rebound board is an investment in long-term skill development. Treat it accordingly.
14. Advanced Multi-Rebound Patterns
Once foundational passing drills and first touch work feel controlled, it’s time to layer complexity.
A. Two-Phase Rebound Pattern
- Pass into the board (ground return angle)
- Control and strike again immediately
- Adjust body position before second return
This forces:
- Rapid scanning
- Faster body adjustment
- Improved reaction training
You are effectively playing against yourself — twice.
B. Movement + Angle Variation Drill
Change the adjustable angle mid-session.
- 3 minutes: ground return focus
- 3 minutes: upright angle for faster ball return
- 3 minutes: forward tilt for aerial returns
This dynamic angle variation drill improves adaptability. In matches, no pass returns the same way — your training shouldn’t either.
C. Integrated Game Simulation
Position cones or mannequins between you and the rebounder.
- Dribble around obstacle
- Pass into rebound wall
- Receive on the move
- Finish or redirect
This develops:
- Decision making
- Close control at speed
- Transition play awareness
The goal is to replicate match tempo without needing teammates.
15. Goalkeeper & Defensive Applications
A football rebound board is not just for outfield players.
Set the board upright at 4–6 metres and strike firmly to create unpredictable rebound trajectory.
For goalkeeper training:
- React to sharp ground returns
- Adjust for aerial deflections
- Practise low diving saves
For defenders:
- Receive under pressure simulation
- Clear first-time
- Reset body position quickly
Shot-stopping reaction work improves when repetition is fast and consistent.
16. Common Setup Mistakes to Avoid
Even experienced players make simple errors that reduce training quality.
1. Ignoring Surface Stability
Uneven surface considerations can alter rebound direction. Always check the base is fully grounded.
2. Standing Too Close
Under 2 metres reduces reaction demand and distorts realistic ball return timing.
3. Never Adjusting the Angle
Keeping the same rebound trajectory limits progression. Angle variation drives adaptability.
4. Random, Unstructured Sessions
Solo training without progression becomes mindless repetition rather than deliberate practice.
5. Poor Frame Checks
Loose bolts compromise stability and safety. Inspect regularly.
Consistency builds improvement. Sloppiness builds bad habits.
17. Measuring Improvement
Without measurement, there is no growth.
Track:
- Successful one-touch sequences (e.g. 20 clean passes in a row)
- Weaker foot accuracy percentage
- Reaction time during rapid exchanges
- Finishing conversion from rebound setups
Introduce passing accuracy targets using cones in corners.
Create benchmarks:
- Beginner: controlled two-touch sequences
- Intermediate: one-touch under movement
- Advanced: variable angles + timed reaction drills
Structured tracking transforms individual practice into performance training.
18. Creating a Long-Term Development Plan
A football rebound board should evolve with you.
Weekly Structure Example
Day 1 – Technical Precision
- First touch
- Passing drills
- Weaker foot training
Day 2 – Speed & Reaction
- Upright angle exchanges
- Reflex training
- Agility and movement drills
Day 3 – Finishing & Aerial Work
- Shooting & finishing drills
- Volleys
- Multi-rebound patterns
Repeat with incremental progression.
Increase:
- Distance
- Speed
- Angle complexity
- Movement integration
Reduce rest time gradually to simulate fatigue.
19. From Equipment to Edge
A rebounder is portable.
It can fold flat for storage.
It fits in a garden, on a pitch, or inside a sports hall.
But its true value lies in repetition with intent.
Used correctly, it builds:
- Cleaner first touch
- Sharper decision making
- Stronger foot-eye coordination
- Confident weaker foot control
- Reliable muscle memory
Every predictable ball return reinforces technique refinement.
Every deliberate repetition compounds.
Final Thoughts
The difference between average and elite is not talent.
It is structured repetition.
A properly assembled football rebound board — positioned at the right distance, secured for stability, and adjusted for varied rebound trajectory — becomes more than training equipment. It becomes a development system.
Follow the principles in this Step-by-Step Setup Guide for Football Rebound Boards:
- Assemble carefully
- Secure the frame
- Adjust intelligently
- Progress deliberately
- Track performance
Train with purpose.
And let the wall do the talking.
Frequently Asked Questions
Below are 10 of the most commonly asked questions around a Step-by-Step Setup Guide for Football Rebound Boards — focusing on practical concerns that weren’t covered in the main guide.
1. How long does it take to set up a football rebound board?
For most modern designs, initial assembly takes between 15–30 minutes, depending on experience. Once built, day-to-day setup takes only a few minutes — especially if the rebounder is foldable or stored nearby. Always follow the manufacturer’s build instructions carefully the first time to ensure long-term stability.
2. Can children set up a rebound board on their own?
Older children can help with positioning and light adjustments, but adult supervision is recommended for initial assembly. Tightening bolts correctly and checking frame security are essential for safety and performance.
3. Do I need tools to assemble a rebounder?
Most football rebound boards require basic tools such as:
- Spanners or Allen keys (often included)
- A screwdriver in some cases
Check your parts list before starting so you’re not interrupted mid-assembly.
4. Can I leave my rebound board outside permanently?
While many rebounders are made from durable, weather-resistant materials, prolonged exposure to rain and frost can reduce lifespan. For best results:
- Store in a shed or garage when not in use
- Wipe down after wet sessions
- Regularly inspect for rust or frame wear
Proper care extends durability significantly.
5. What size rebound board should I choose?
It depends on your training focus:
- Smaller boards: Sharper ball return, excellent for first touch and reaction drills
- Larger boards: More forgiving surface area, ideal for passing drills and goalkeeper training
If space allows, a mid-to-large board offers the most versatility for solo training.
6. How do I stop the rebounder from moving during powerful shots?
To maximise stability:
- Place it on flat, solid ground
- Ensure all bolts are fully tightened
- Use weighted sandbags if needed
- Avoid polished or slippery indoor surfaces
High-power shooting drills require a fully secure frame to maintain predictable ball return.
7. Can I use a football rebound board for team training?
Absolutely. While ideal for individual practice, rebounders are highly effective in:
- Small group passing circuits
- Rotational drill stations
- Goalkeeper reaction sessions
- Warm-up routines
They work particularly well in academy-style structured sessions.
8. How often should I check the frame and fixings?
A quick inspection every 1–2 weeks is recommended if used regularly. Check:
- Bolt tightness
- Frame alignment
- Surface integrity
- Angle adjustment mechanism
Preventative checks ensure safety and consistent rebound trajectory.
9. Is a rebound board suitable for beginners?
Yes — in fact, it’s one of the best tools for developing foundational technique. Beginners can start with:
- Controlled two-touch passing
- Short-distance positioning
- Slower rebound angles
As control improves, intensity and complexity can increase gradually.
10. How do I make sessions more challenging over time?
Progression can be achieved by:
- Increasing distance
- Reducing touch count
- Changing angles more frequently
- Adding movement before receiving
- Introducing timed repetition blocks
- Integrating cones or mannequins
The key is structured progression rather than random intensity.